Tutorial: Create an Event Page
An effective event page does more than list details - it builds interest, communicates value, and makes it easy for visitors to take action.
In this tutorial, you’ll learn how to use AEM components to create a well-structured event page that clearly presents key information while using engaging content and layout techniques to capture attention.
In this tutorial we will:
- Explore the recently refreshed Event component with its updated visual design
- Use enhanced tables to present schedule data more effectively
- Use the HTML Snippet component to embed an Instagram post
-
Create an Event template by following the steps found on this page (opens in new window) .
-
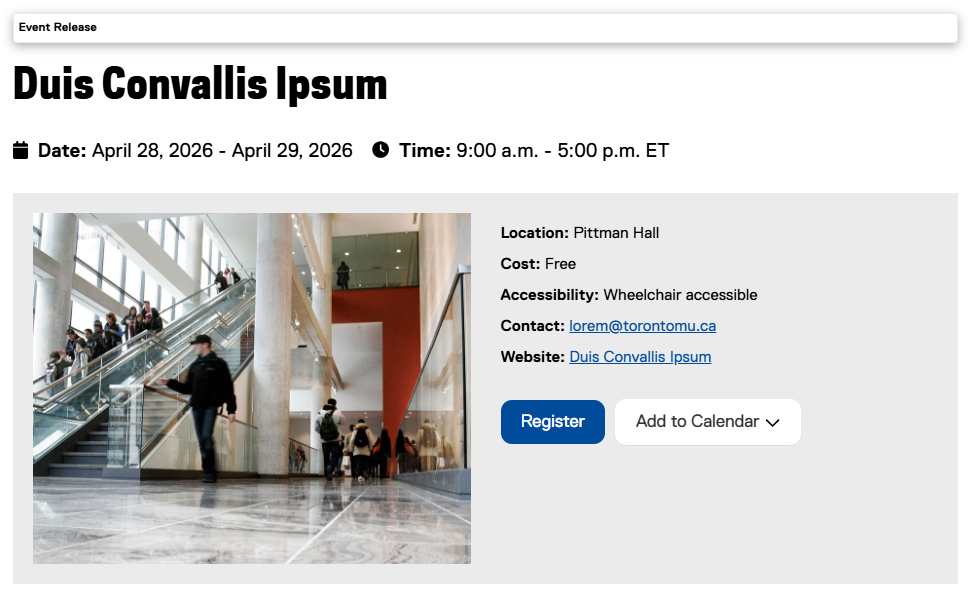
Configure the Event Release component on the page, select the "Display Image" tab, and select an image asset.
-
Enter some content into the Event Release component. Fields included in the recent redesign include "Cost", "Accessibility", and "Website".
When entering a value for "Website – URL," be sure to also provide a value for "Website – Name." This helps ensure the link is clear, descriptive, and accessible. It also ensures WCAG compliance (external link, opens in new window) .
-
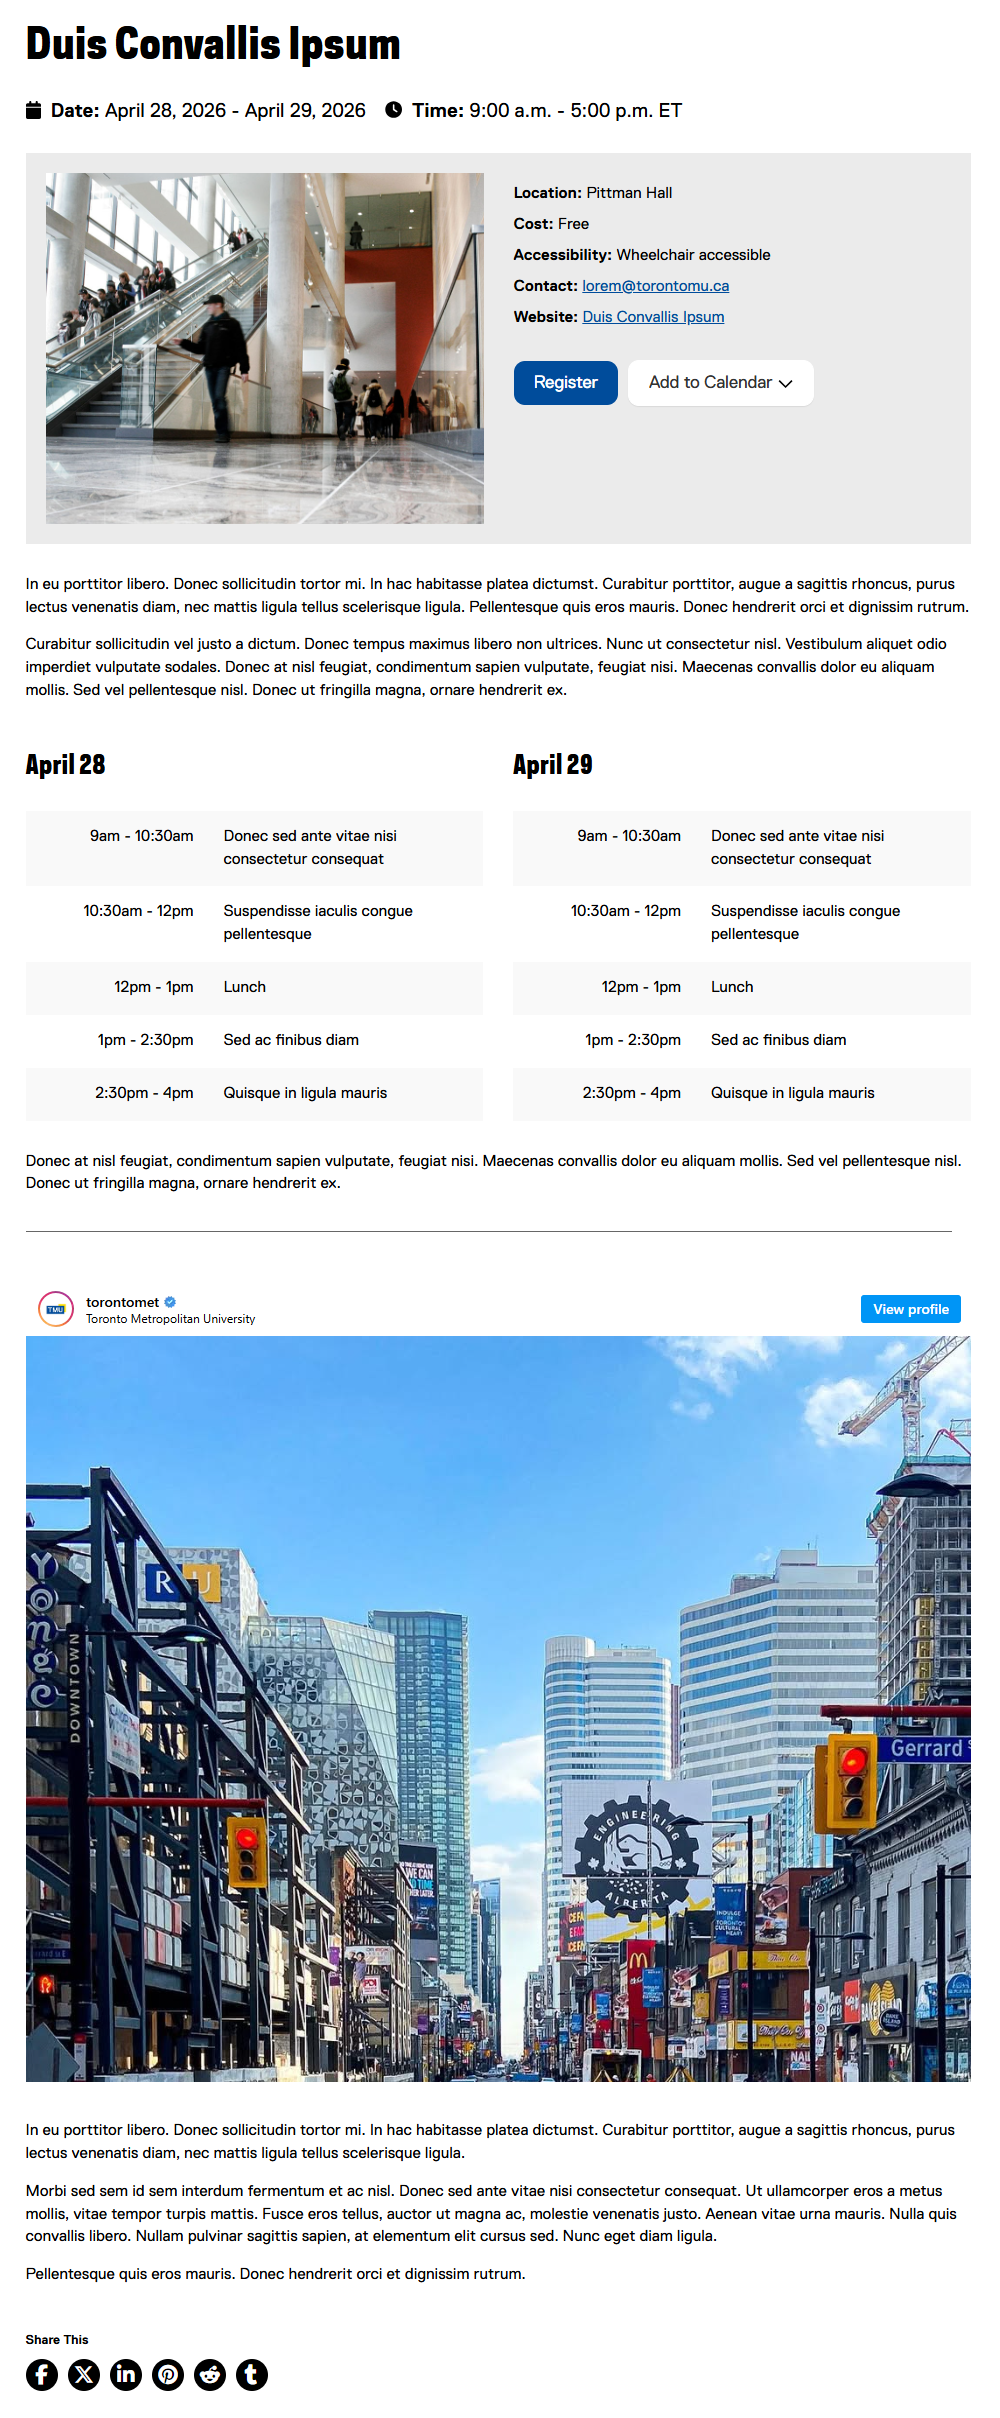
Please note that the Event Release now features a cleaner design that makes viewing event details more intuitive for users:
-
Add a Text component to the page and enter a description of the event.
-
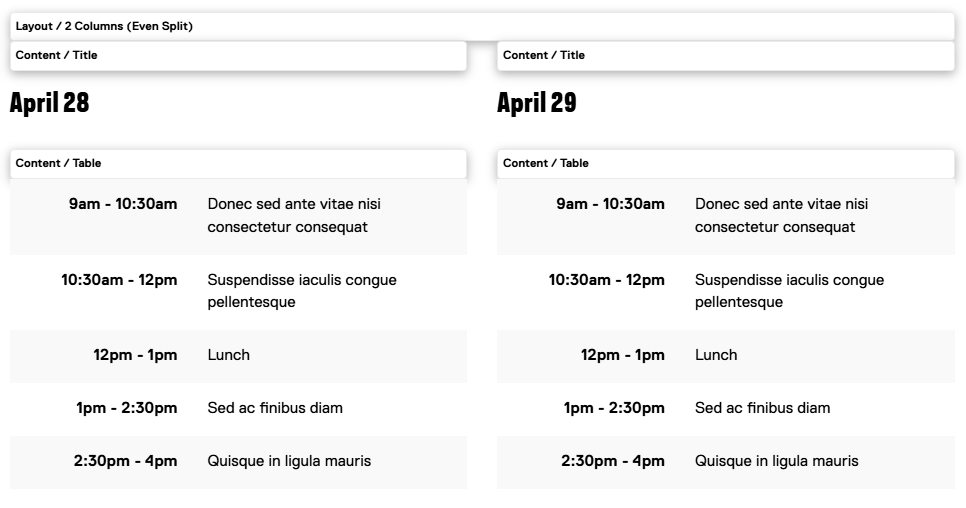
There are several ways to add a schedule to your event page, but one effective approach is shown below. First, add a 2 Columns (Even Split) layout component to the page and add a Title and Table component into each column as shown here:
One advantage of the approach used above is that, in mobile view, the days will stack in sequential order for easier reading. Whichever approach you choose, be sure to consider mobile users and how the content will display on smaller screens.
-
For information on how to format the Table components so they appear as they do in the example above, please visit the Table component page on the Web Support site (opens in new window) .
-
Add an additional Text component to the page for more content if necessary.
-
Embedding a social media (in this case, Instagram) post on an event page can add dynamic content and increase engagement by showcasing real-time updates or event highlights. To add an embedded Instagram post:
-
Add an HTML Snippet component to the Event page.
-
Find the Instagram Media ID of the image you want to embed. You can locate it in the URL when viewing the individual post page:
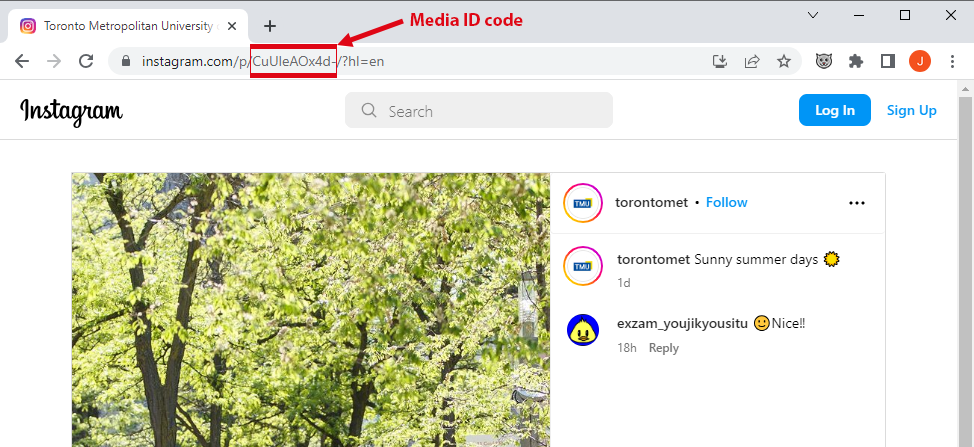
-
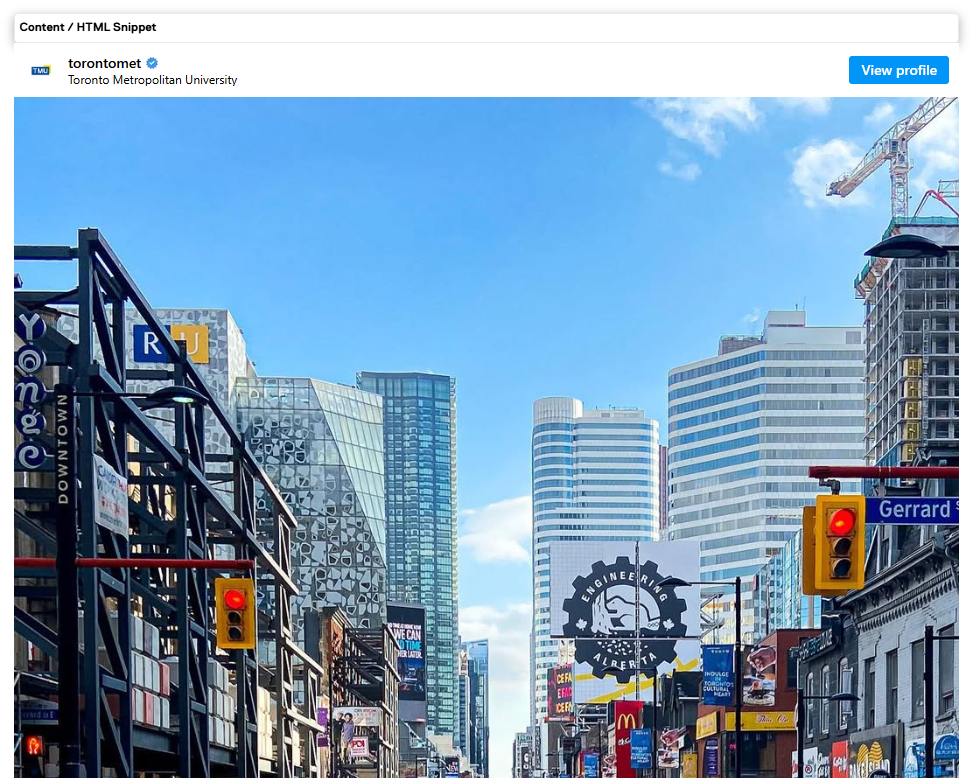
Copy & paste the following code into the HTML Snippet component, and replace the portion that says "DSD3_SpgSCB" with the media ID code from the previous step:
<iframe src="https://www.instagram.com/reel/DSD3_SpgSCB/embed/captioned (external link) " width="400" height="800" frameborder="0" scrolling="no" allowtransparency="true"></iframe>
-
-
The resulting HTML Snippet component should look something like this: