You are now in the main content area
Biography template
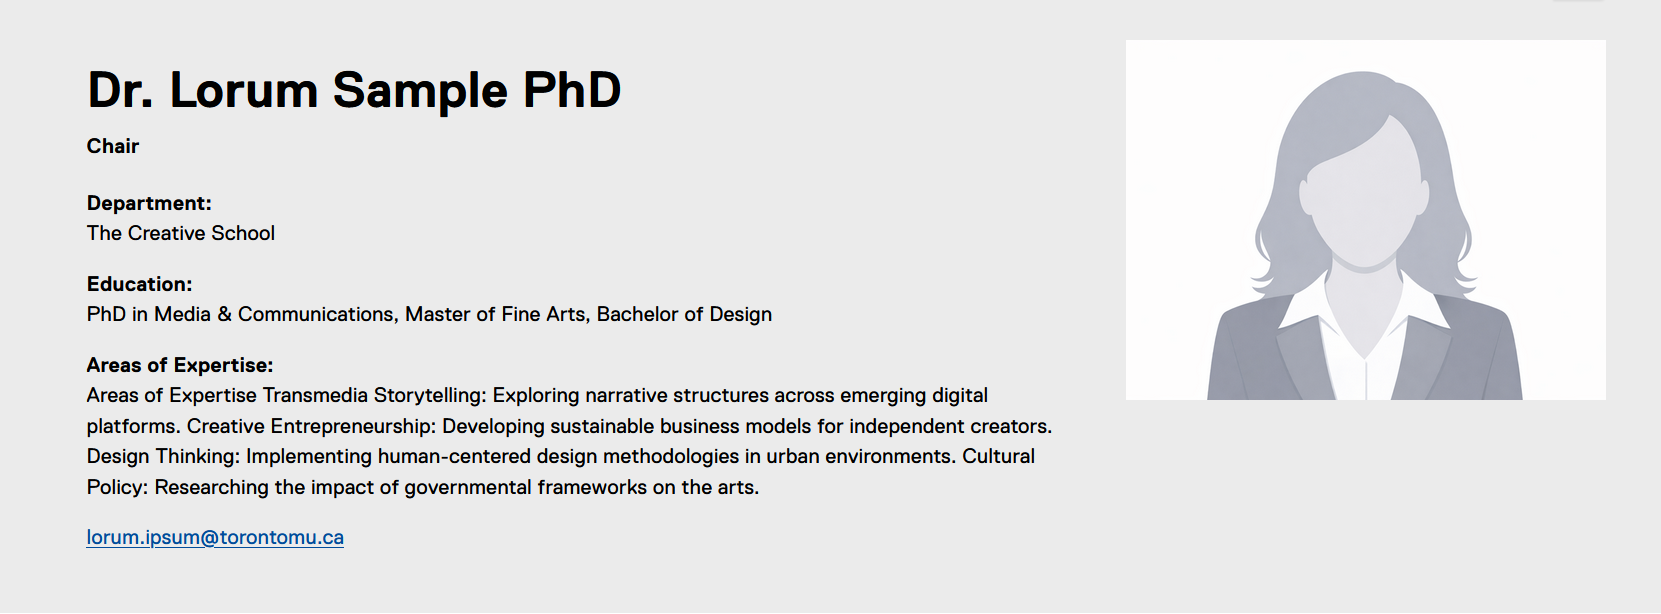
The biography template is used to create profile pages or biographies for faculty and staff. etc.
- Biography pages are displayed in a biography list or grid component.
- Style options: two available
Related content:
Create a new biography:
- In sites, navigate to the website location where you want to create all biographies e.g. /ryerson/graduate/about/people/
- Select the blue “Create” button, then select “Page"
- Choose the "Biography" template, select "Next"
- Add a Title, which will be the name of the faculty member, staff member, or student.
AEM will automatically create a “Name,” so this can be left blank. - Select “Create.”
- Choose Done, or select "Open” to edit the page immediately.
- From sites page, select the thumbnail of the page, make sure you see the check mark
- A toolbar will appear at the top. Select "Edit."
- Shortcut: After selecting the thumbnail, hit "e" on your keyboard
- Open the Biography component by double-clicking it, or select the wrench icon.
- Fill in the necessary fields
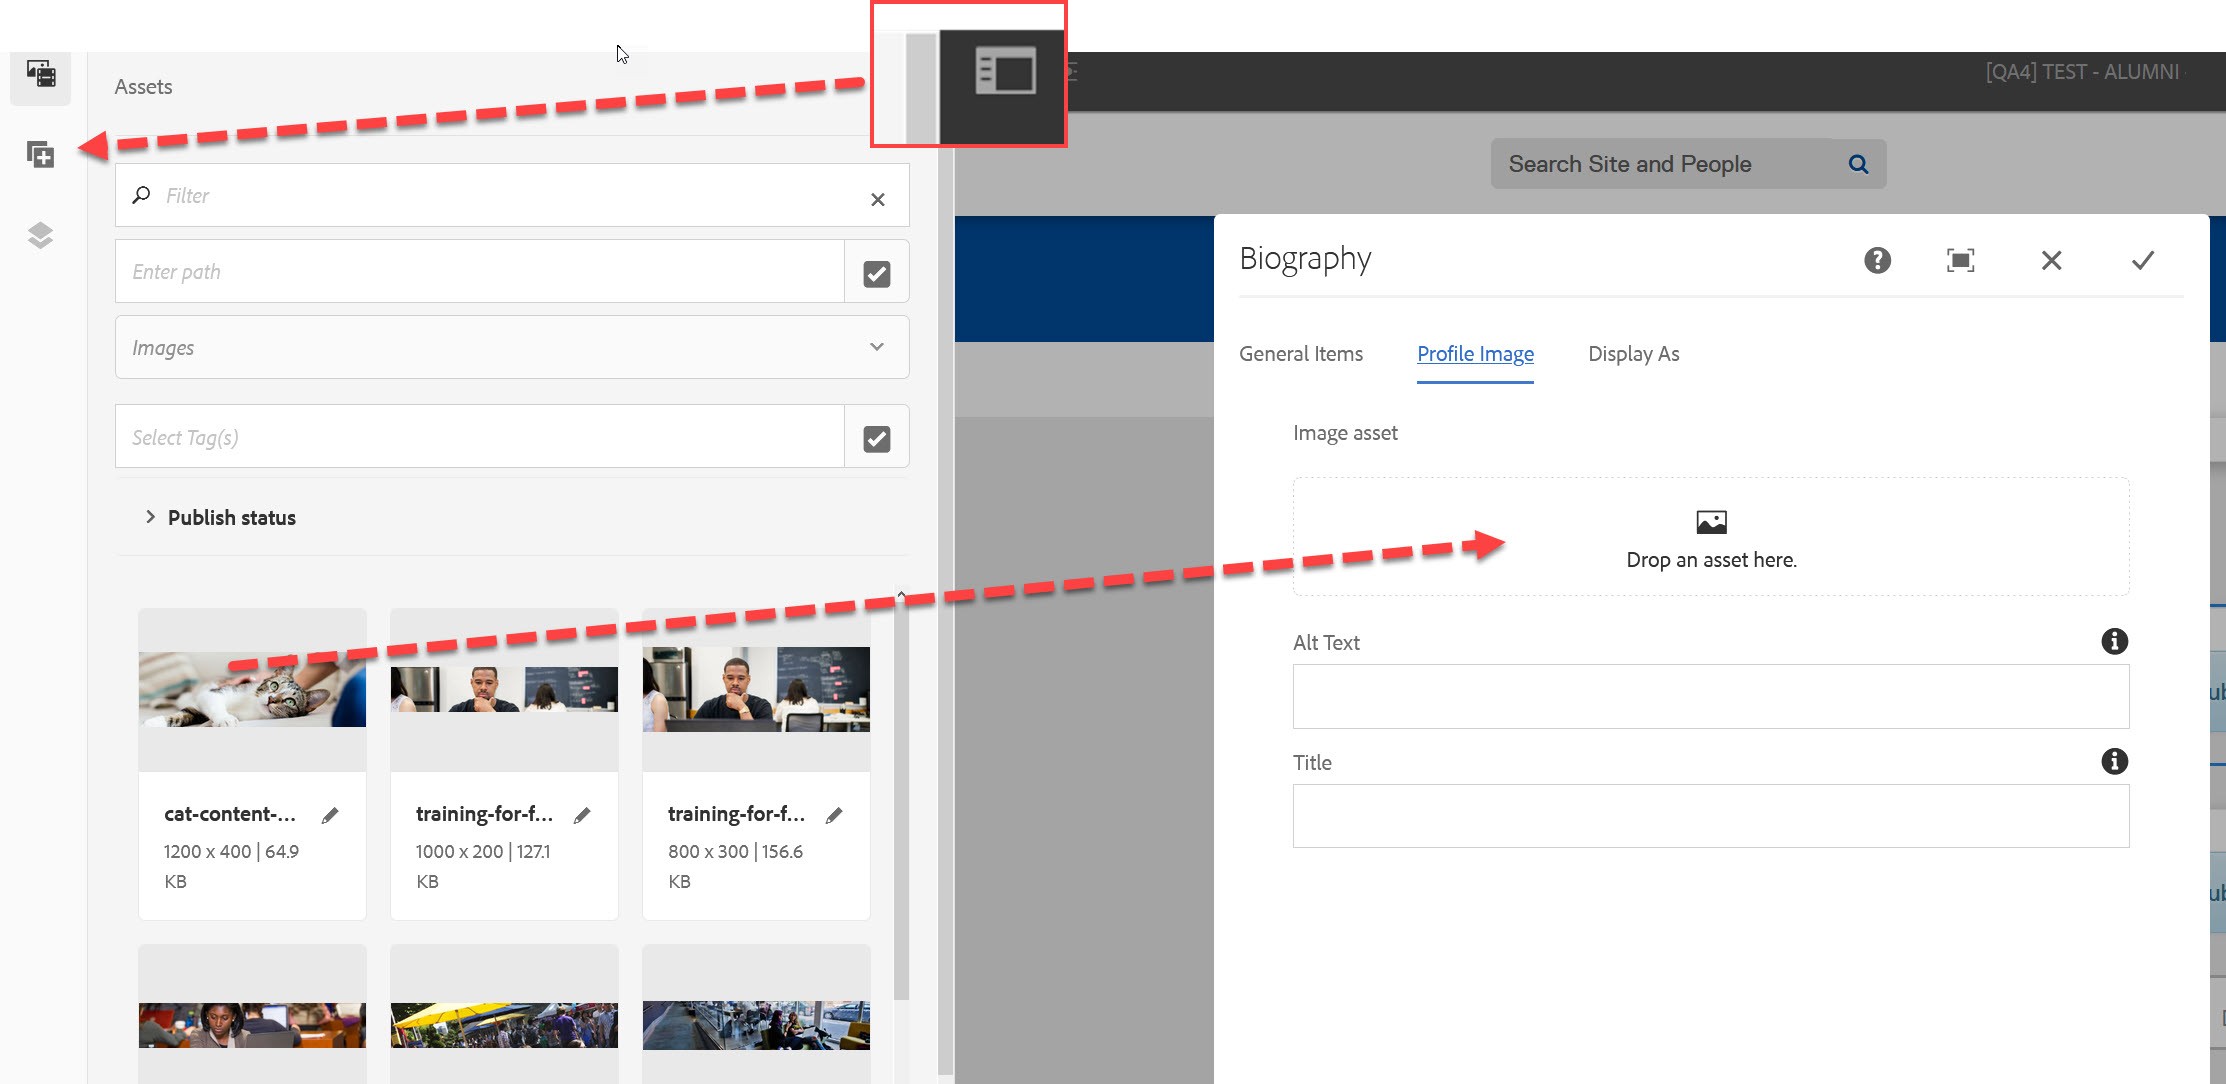
- Select the “Profile Image” tab.
- Drag an image from “Assets” and drop it into the Profile Image tab of the component. (See below: "Add Profile image" below)
Bio images should be 1200px x 900px, or at minimum 800X600. If they are not the same dimension the images will not display consistently in the biography grid.
- Select “Display As” tab. Select how you would like the Biography to be displayed.
- Select the check mark when done.
Other components can be added below the predefined biography component.
Predefined Biography Fields:
- Prefix
- First Name
- Last Name
- Name Pronunciation (MP3 format required)
- Suffix
- Position/Title
- Department
- Education/Qualifications
- Memberships / Services
- Office Address/Location
- Telephone
- Area of Expertise
- Website
- Tags
Below the embedded bio component, you can add other components such as images, text, tables, etc.