Classlist
The classlist is the place to find all of the members of your course, including a full list of your students.
Some of the things you can do in the classlist include:
- View a list of users, grouped by role type (i.e. students, course admins like Academic Assistants and Course Builders, or All users)
- Filter the list by section membership
- Filter the list by group membership
- Email the entire classlist (or limit by role type)
- Email individuals in the class
- View a list of students who have been dropped (withdrawn) from the course shell.
To ensure that we all adhere to the university’s privacy policy, only individuals with a particular role at TMU that allows them to see private student data, such as Instructor or Staff, and have access to your course shell, are able to see the Classlist in your course shell.
Find the Classlist in the top menu. If it isn't there, review how to enable course tools.
Classlist basics
To access a full list of students in your course shell, click on Classlist in the top navigation.
By default, you will see a full list of all users, including students, co-instructors, TAs, etc, on this page, in the All tab.
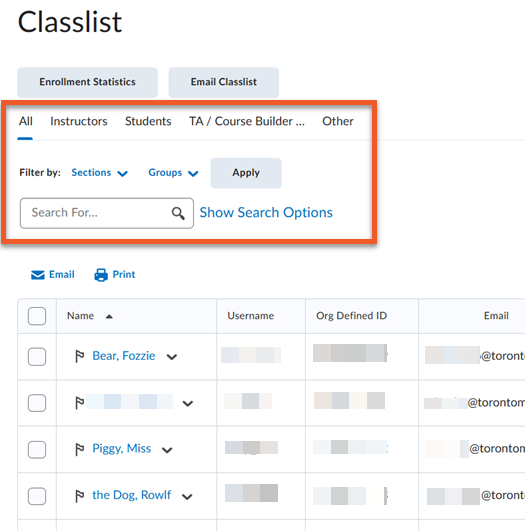
Near the top of the page, there are a variety of ways to finetune the list of users you can see. You can click on a tab to see only particular types of users (All, Instructors, Students, TA/Course Builder, Other).
You can filter by Sections or Groups. See instructions in the section immediately below on this page to use these filters.
You can type any name or partial name into the search box, then click on the magnifying glass icon to run the search.
You can also click on Show Search Options, to see an even wider variety of ways to filter or sort users.
Warning: Keep in mind that Brightspace usually remembers the last filter you used on this page, so you may wish to clear your filters before you leave, so that you see the full list the next time you visit the Classlist tool. If you don’t see all of the expected users on this page, check that none of the filters are enabled, limiting what you can see.
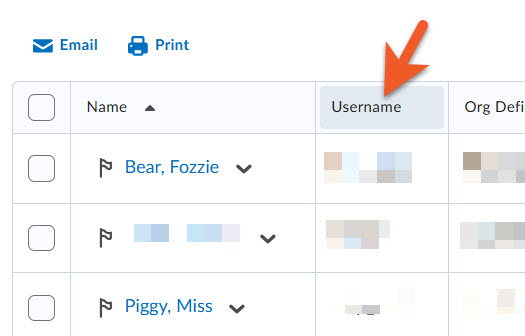
Also, if needed, you can sort the list by any column, by clicking on the column header. Click on the column header again to sort in reverse order.
In the case of the Name column, you can click on the little triangle to choose which field to sort by (first name or last name).
If you have multiple course sections or want to see a particular group of students in a group category, you can use the Sections or Groups filters to display only those students.
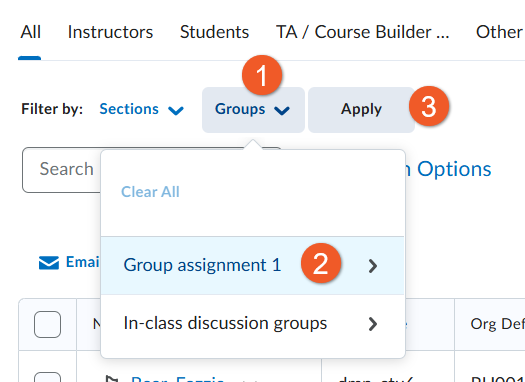
Click on Sections or Groups.
Select the desired section or click on the group category, then select the group within that category.
Click the Apply button to update the view.
The list of users will reload to show your choices.
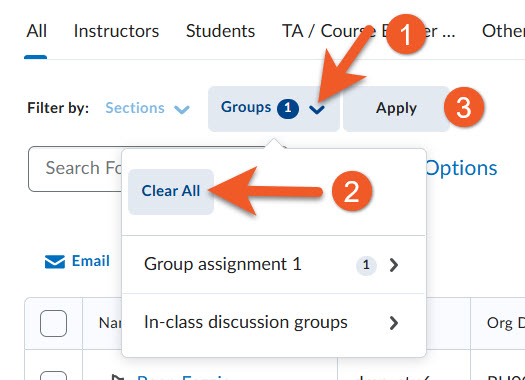
Clear your filters when you’re done
Warning: Keep in mind that Brightspace usually remembers the last filter you used on this page, so it is best practice to clear your filters before you leave, so that you see the full list the next time you visit the Classlist tool. If you don’t see all of the expected users on this page, check that none of the filters are enabled, limiting what you can see.
Click on the filter, click on Clear All, then Apply. The page will reload the full list of users.
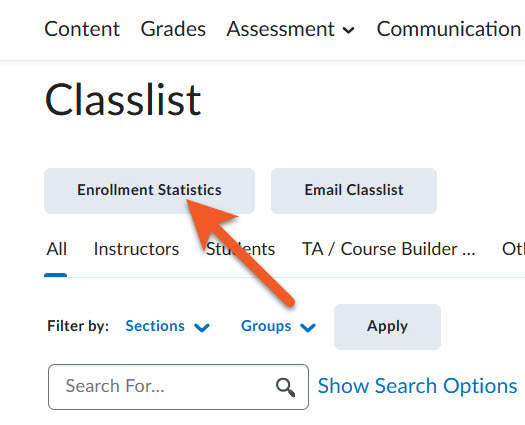
Occasionally, you may need to troubleshoot why a student has disappeared from the Classlist. You can see the list of withdrawn students by going to Classlist, then click on Enrollment Statistics.
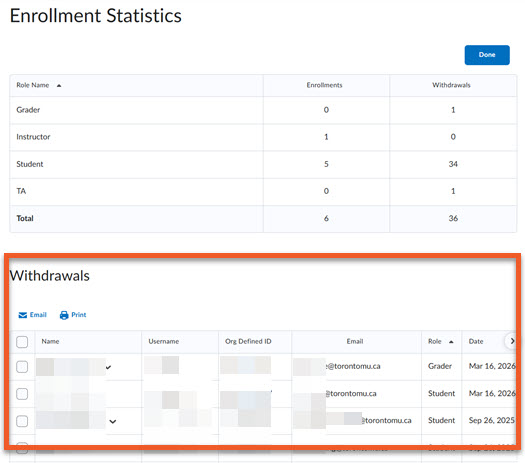
Scroll down below the basic enrollment statistics, to the Withdrawals section.
Here, you can see any students who have withdrawn (and other users you have removed) from the course, and the date they were removed from Brightspace, which is typically 24-48 hours after the student officially withdrew in MyServiceHub.
If the course is still active, you can click on the contextual menu (down arrow) to the right of the student’s name, and select View Grades, to view any grades they earned before withdrawing from the course.
However, you may not be able to view any work they submitted. If you need help with that, please email our team at courses@torontomu.ca and provide all of the relevant details, and we can work with you to find a solution.
There are a few situations where you need to provide students with some kind of accommodation, such as extra time, or the ability to re-enter an assessment. The reasons may include if they have registered for accommodations through AAS, or if they experience a technical problem while completing an assessment, and can no longer access it.
There are two main features in Brightspace that enable instructors to provide students with accommodations during assessments: accommodations and special access.
Please note that Special Access settings on a specific assessment will override the coursewide Accommodations set for a student. This gives the instructor the ability to customize accommodations on a case-by-case basis.
While it is a little more work, setting up Special Access for a student in a Quiz or Assignment is the preferred method, as you will have access to more settings, to ensure appropriate access.
In the Classlist, you can set very basic time-based accommodations for all Quizzes in the course for a student.
Please note: This only allows you to add a multiplier of time and/or extra time. Be aware that this will not alter the End Date or Due Date for the student, so even though they submit within the time settings for their accommodation, their submission may be tagged as late, or if they experience a technical problem during the Quiz, they might not be able to re-enter.
Other things you can do in the Classlist tool
You may wish to print your Classlist for some reason. Keep in mind that if you don’t want some of the information seen on the Classlist page, you may find it better to use a different method, such as exporting the Classlist, so that you can remove unneeded columns, etc, and then print that document.
Also, be mindful that the Classlist contains private student data that needs to be handled with care. Be careful to adhere to the university’s privacy policy when using this information (ie. do not leave this page sitting out in the classroom for students to check in, etc).
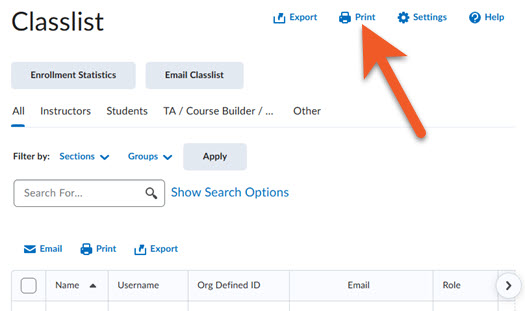
Click on Classlist in your course shell.
In the upper-right of the page, click on Print.
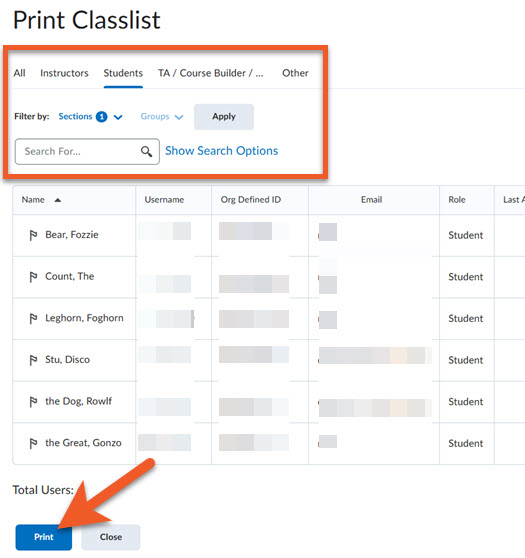
On the Print Classlist page, you will see the list of people who are in your course shell, which includes all kinds of users - students, co-instructors, TAs, course builders, etc.
Use the filters, tabs and other search options to finetune the list, if needed (ie. if you only want to see students, students from a particular section, etc). You should also sort the list as you wish to see it in your printout.
When you are happy with your selection, click on Print.
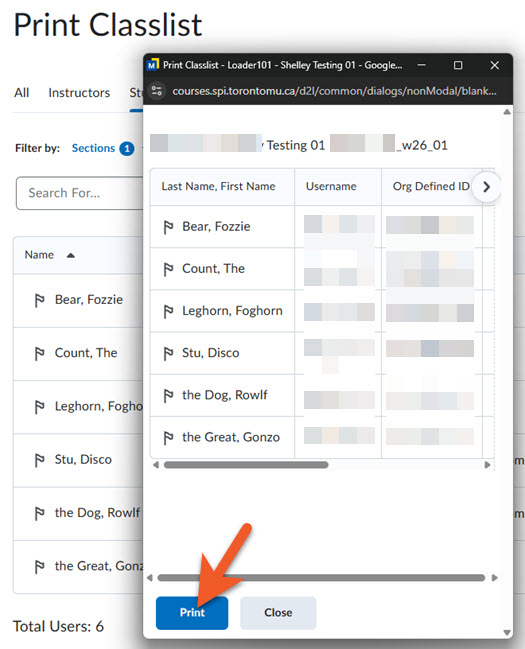
You will see a popup window appear, which shows you a preview of the content that will be printed. This includes the course name and shell code, student name, username, ID, email, role, and last access date to Brightspace. It’s not possible to turn off any of these columns, or re-sort the columns at this point.
Click on Print.
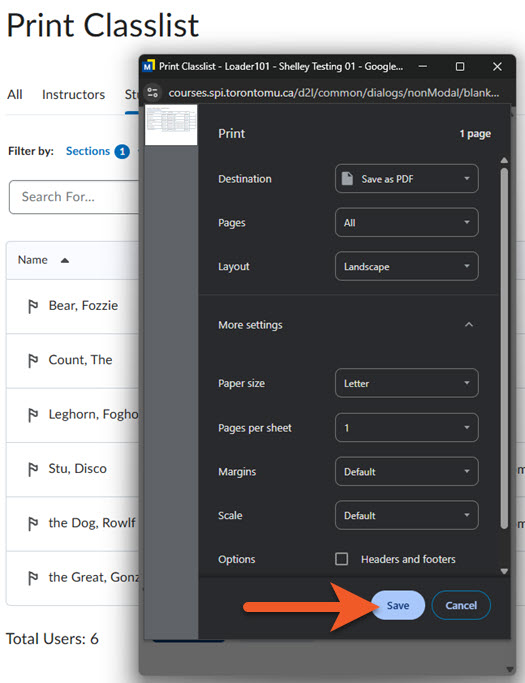
The popup window will then show your printing options. These will vary, depending on what operating system you have, what software you have on your computer, which printers you have installed, etc.
You may be able to choose details such as:
- Select a printer or to save as PDF
- Which pages to print
- Landscape/portrait
- Paper size
- Pages per sheet
- Margins
- Scale
- Whether to print headers and footers
- Background graphics
Click on Save or Print to print your document, or Cancel to end this task.
Depending on your particular setup, you may see additional dialogue boxes, related to your printer, or where to save the file.
Click on Close to close the popup window, and Close in the main browser window, to return to the main Classlist page.
Depending on how much information you need, you may want to export the Classlist to a spreadsheet to use outside of Brightspace. However, there are situations, where there are other sources that will be more suitable:
- If it is prior to, or shortly after the start of term, keep in mind that new enrollments, withdrawals, and section switches take about 24-48 hours to appear in Brightspace, so MyServiceHub will be a more updated source of information.
- If you need to download which groups a student is enrolled in within your course shell, either Groups > Export or Grades > Enter Grades > Export might better suit your needs.
- If you need to export student grades for particular grade items, use Grades > Enter Grades > Export.
Also, be mindful that the Classlist contains private student data that needs to be handled with care. Be careful to adhere to the university’s privacy policy when using this information (ie. be careful who you share this with, do not print this page and leave it sitting out in the classroom for students to check in, etc).
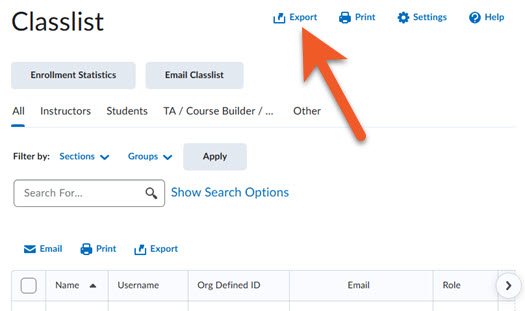
Click on Classlist in your course shell.
In the upper-right of the page, click on Export.
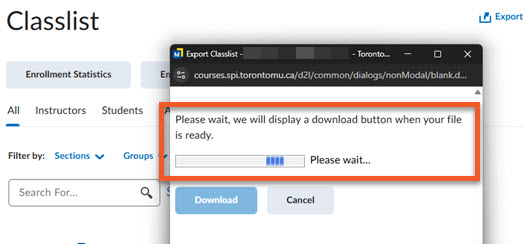
A popup window will load, with an animation indicating that the report is processing. Depending on the size of your classlist, this might take a minute or two.
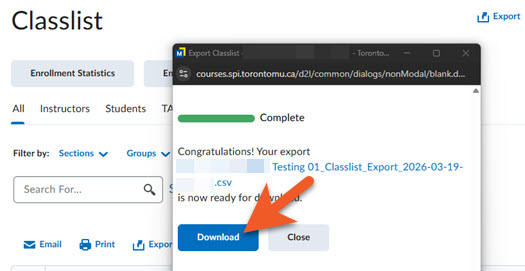
When the file is ready for download, the animation will change to a green bar with a “Complete” status.
Click on Download to save the file to your computer.
Depending on your computer, the dialogue box that appears may look different, prompting you to specify where to save your file, or the file might simply be saved in the default location for downloads on your device.
When you are done, click on Close to close the popup window.