Checklists
What are checklists?
A checklist is a great tool to highlight important or required activities in your course and help students stay organized with regard to what’s expected of them in your class.
Instructors can create an overview of activities for the semester.
While the completion of checklists cannot be connected to a grade item in Brightspace, students can use the checklist as a reminder, track their completion of work, and check off items when completed.
"Checklist" can be found in the navigation menu, under Assessments.
If it isn't there, review how to enable course tools.

From the top navigation in your course shell, click on Assessment > Checklist to access the Checklist tool.

Click on the New Checklist button.

Name your checklist and add a description (as needed).
If necessary you can check the box to have the checklist pop up in a new window when viewed by the student.
Click Save to keep your settings.

Note: D2L requires you to create a category for your checklist, and then you can add new items to a category.
Create a category for your checklist by clicking on New Category.

Add your category name and description (if needed).
Click on the Save button to save your work.
Repeat the process, if you want more than one category in your checklist.

Note: You can create as many items as needed to each category of your checklists.
Once you have created all categories, you can now add the items that students need to complete, to each checklist category.
Click on New Item.

Pick a category from the dropdown to add the item to.
Give your item a name.
You can also add a description, if you wish.
If it makes sense for this checklist item, you can select a due date.
Check the box to have the item appear in the course calendar, if necessary.
Click on the Save button to save this checklist item.
Repeat this process for each checklist item.

In your course shell, navigate to Content, then the module that you wish to add your checklist to.
Insert the checklist into a module in the Content section of your course by clicking on Existing Activities > Checklist.

Choose the checklist you wish to add to the module, and it will be added to the bottom of the list of items in your module.
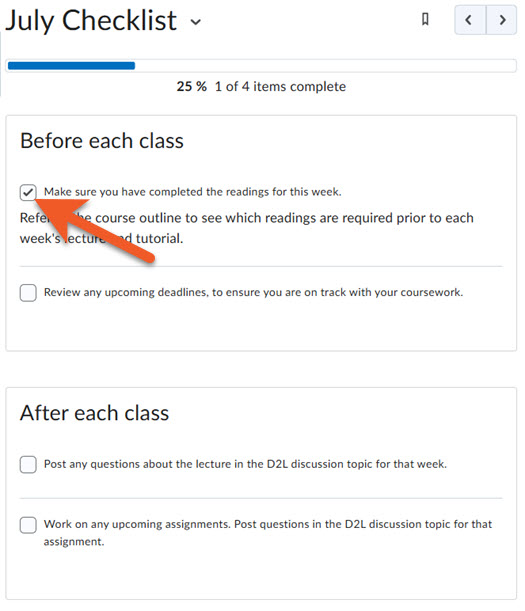
Your students will navigate to Content, then the module that you added the checklist to. The student should click on the name of the checklist.
To indicate completion of an item, the student clicks on the checkbox next to it.
If you want to see a summary of completion for a checklist, in your course shell, go to Content, and click on the module that the checklist is in.
Click on the name of the checklist.
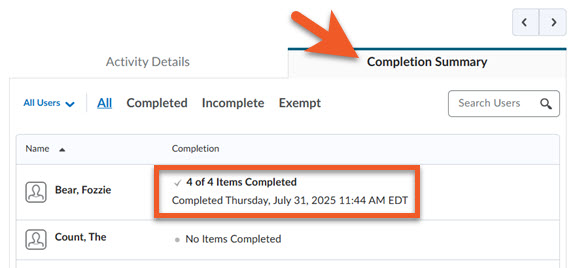
Scroll down, to below the checklist items, and click on Completion Summary.
You can scroll through the list of students to see which students have completed all, some or none of the items in the checklist. You can use the filters above the list of students to view all students, those who have completed the checklist, or those who have not completed the checklist. Or, you can use the search box or click on the "All Users" dropdown, to filter by groups or sections.