Using Scanners in ACS Labs
Toronto Metropolitan University's (TMU) Academic Computer labs offer a variety of flatbed and film scanners to use for turning paper documents and film, into electronic files. The files you create may be used for, among other uses, uploading onto a website, printing, and using in a PowerPoint presentation.
There are flatbed models that are used to scan paper documents. Photographs will generally produce higher quality scanned images compared to newspaper and magazine clippings or books. Always use the highest quality original available to you. Several of the flatbed scanners have a fantastic feature allowing you to directly scan a typed document into a text file. Please respect copyright.
Available Scanners
In the following table, only the scanners in the Library and KHW71F are available in the general lab for use at anytime. If you are enrolled in a class that gives you access into a specialty lab, you may use the scanners in that lab. Please check lab schedules for lab accessibility.
Available Scanners and Lab locations
| Room | No. | Model |
|---|---|---|
| KHW71A (Media Lab) |
1 | EPSON Perfection V700/V750 |
| KHW71C (Graphics Lab) |
1 | EPSON Perfection V700/V750 |
| KHW71F (Graphics Lab) |
2 | EPSON Perfection V700/V750 |
| Library | 2 | EPSON Perfection V500 |
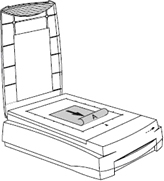
Raise the scanner lid and place the original item to be scanned face down on the scanner glass, towards the front of the scanner. Center the top of the original item along the horizontal ruler of the scanner, then close to lid and prepare to scan.
Select on the Scanner and Camera Wizard icon on the Desktop.
A New Scan window will appear as shown below. By default, the scanned image will be saved and formatted as a Color, JPEG image.
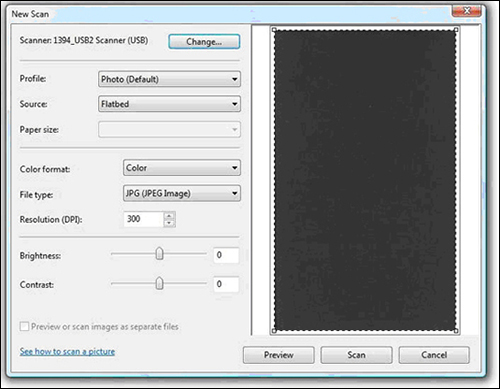
To switch file types, select the black downwards arrow to the right to list the available options.

Select the Preview button to look at your document (as-is on the scanner) in the preview pane, located on the right side of the window.

When it is complete, you can change the scanning area by left-clicking on one of the four corners within the preview area. You can also increase/decrease the resolution, brightness and contrast settings.
When ready, select the Scan button if you are satisfied with the settings, or select Cancel to start again from step two.

After the scan, a small window called Importing Pictures and Videos appears. Type a name for the scanned image in the textbox, then select Import to save the image. By default, the scanned images are saved to your Pictures folder in My Documents, in a subfolder titled with today's date.

Alternatively, you can select on the Options link on the bottom left corner of the window (of the image in step six) to select the settings of where the pictures are saved, and how the folder and file names are set up. A sample is shown below.
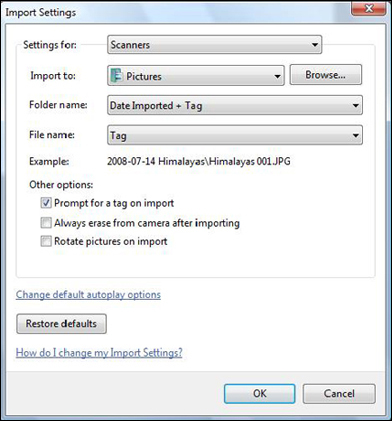
Select OK to return back to the Importing Pictures and Videos window to save the image, as described in step six.