Content 7 Client Install for Windows

Software Requirements: Microsoft Windows 7, 8.1 or 10
Complete the following steps to install Content 7 Client:
Download Content 7 Client
1. Download Content 7 for Windows from the CCS website.
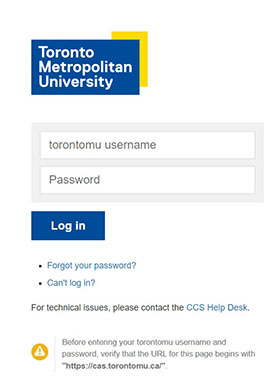
2. At the Connect to ai-apps.ryerson.ca screen, type in your my.torontomu username and password. Select Log in.
3. At the File Download screen, select on the Save button to save the exe file containing the installation software. Save this file to a location of your choice where you can easily find it again such as your desktop or your Local Disk (C:).
1. Locate the ClientSetup_309.exe file that was downloaded.

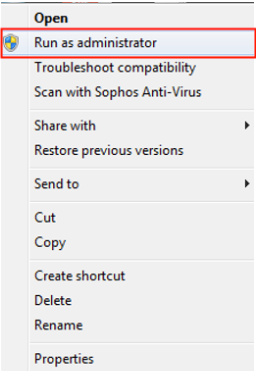
2. Right click on the ClientSetup_309.exe file and select Run as administrator.
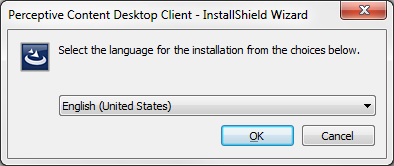
3. At the Perceptive Content Desktop Client – InstallShield Wizard screen, select OK.

4. To install the required package(s), select Install. There may be one or more packages to install.

5. At the Welcome to the Installation Wizard for Perceptive Content Desktop Client screen
select Next >.

6. Scroll to the bottom of the License Agreement screen. Select I accept the terms in the license agreement and select Next >.

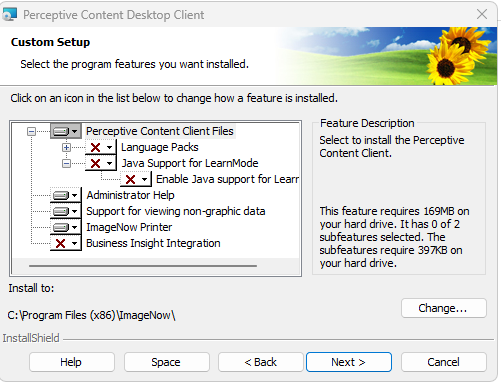
7. In the Custom Setup window, select the dropdown arrow next to Image Now Printer and select This feature will be installed on local hard drive. Select Next >.

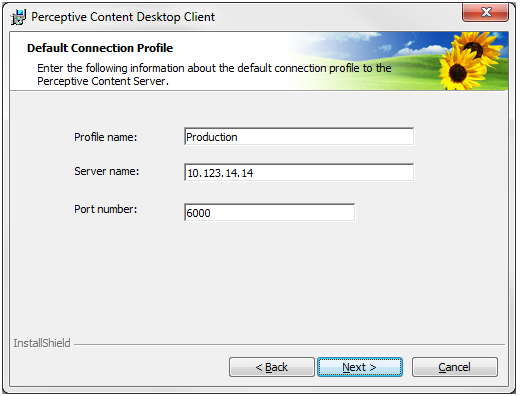
8. In the Default Connection Profile window, enter the following information and select Next >:
Profile name: Production
Server name: 10.123.14.14
Port number: 6000
9. At the Deployment Server screen, leave the URL blank and select Next >.

10. On the Perceptive Content Shortcuts window, select your desired shortcuts and select Next >.

11. From the Ready to Install the Program window, select Install.

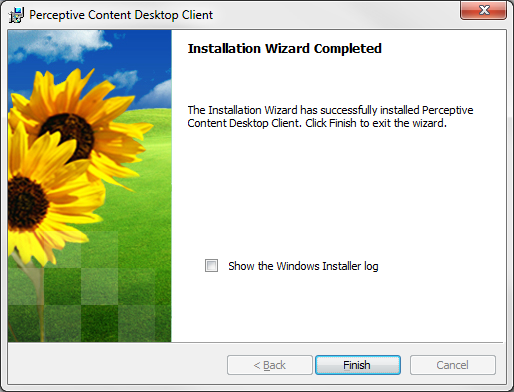
12. When you see the Installation Wizard Completed window, select Finish.
13. Now that the installation is complete, you will be able to log in to Content 7.
(Note: VPN may be required to use this client)

If a previous version of the Content 7 client was already installed, there is no requirement to uninstall prior to upgrade.
1. Locate the ClientSetup_309.exe that was downloaded.

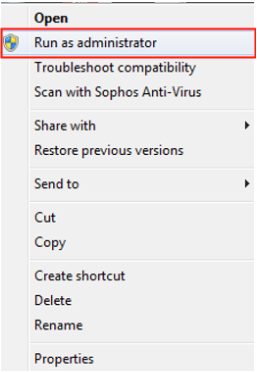
2. Right-click the file and select Run as administrator
3. If the Security Warning window appears, select Run
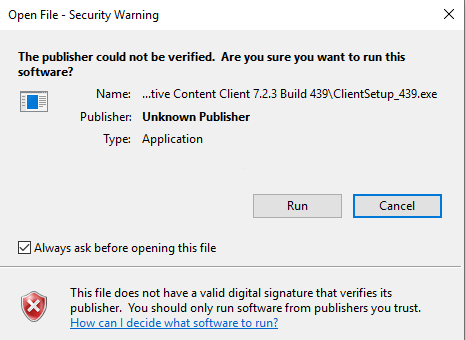
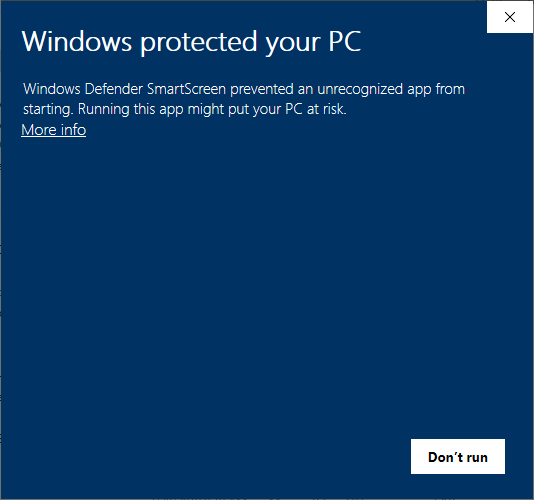
4. If the Windows Defender SmartScreen appears, select More Info
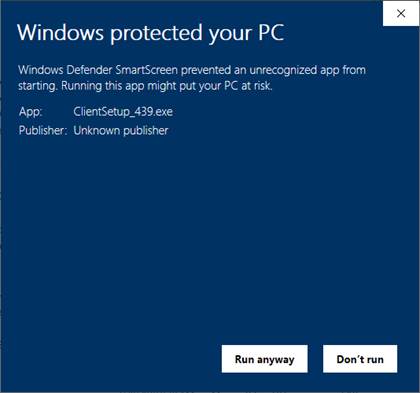
5. At the Windows Defender SmartScreen, select Run anyway
6. At the Perceptive Content Desktop Client - InstallShield Wizard screen, Select OK
7. Select Install to install the required package(s). There may be one or more to install.
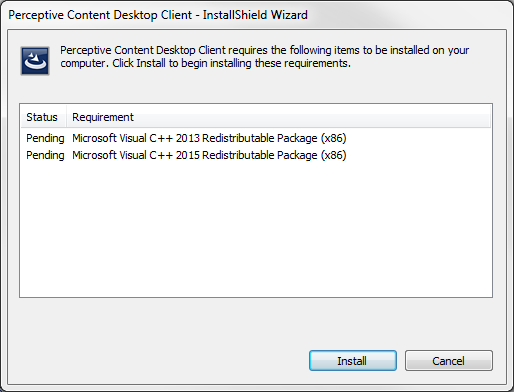
8. Select Yes to update the product version.
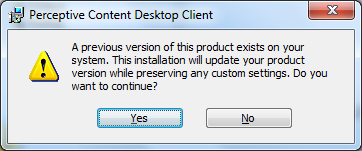
9. Select Next to begin installation.

10. Scroll all the way to the bottom, select "I accept the terms in the license agreement", then select Next.
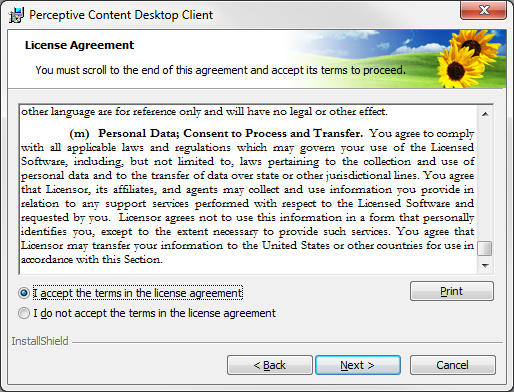
11. At the Custom setup screen, select Next.
12. Leave the Deployment Server URL blank and select Next.
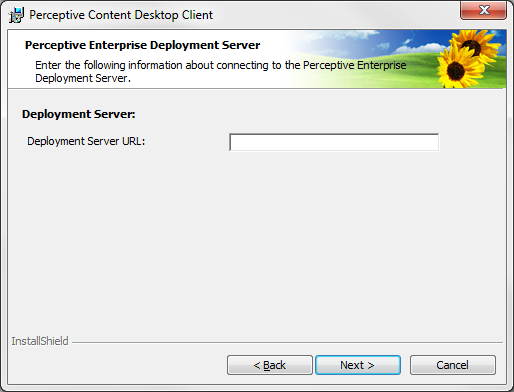
13. Select your desired shortcuts then select Next.
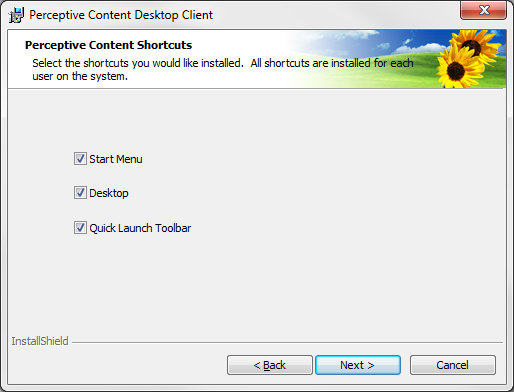
14. At the Ready to Install the Program screen, select Install.
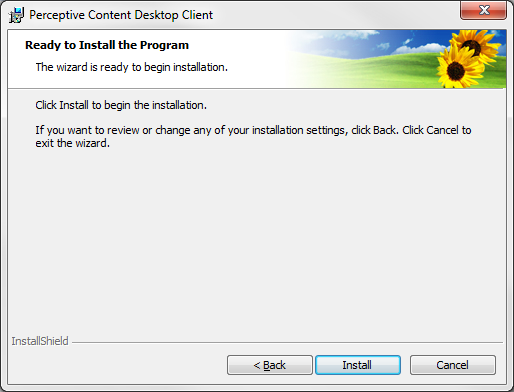
15. At the Installer Information screen, select OK. (This may occur twice.)
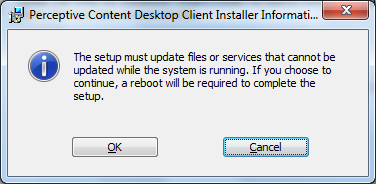
16. At the Installation Wizard Completed Screen, select Finish.
17. If you receive a message saying Files in Use, select OK.

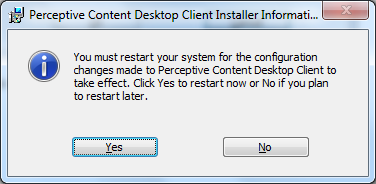
18. A window will appear asking you to restart. Select Yes
The installation is complete and the application is ready for use (VPN may be required).