How to create accessible presentations
This page helps you make your slide decks and presentations accessible to all of your potential audience, including people with disabilities. These tips and guidelines are applicable to both in-person and online presentations.
Design
- Avoid walls of text. Slides should highlight key points - not full paragraphs.
- Use an appropriate text size, taking the room size into consideration. Avoid text sizes smaller than the default.
- This will benefit people with visual disabilities, people standing far away, and people viewing the presentation with their phones.
- Use strong contrasting, bold colours that make your text stand out clearly from the background.
- Make sure your slides are understandable in greyscale. Colour should never be the only way of conveying information. Refer to colour and contrast.
- Avoid pasting full URLs, and instead use self-describing links.
- Add alt text to all images.
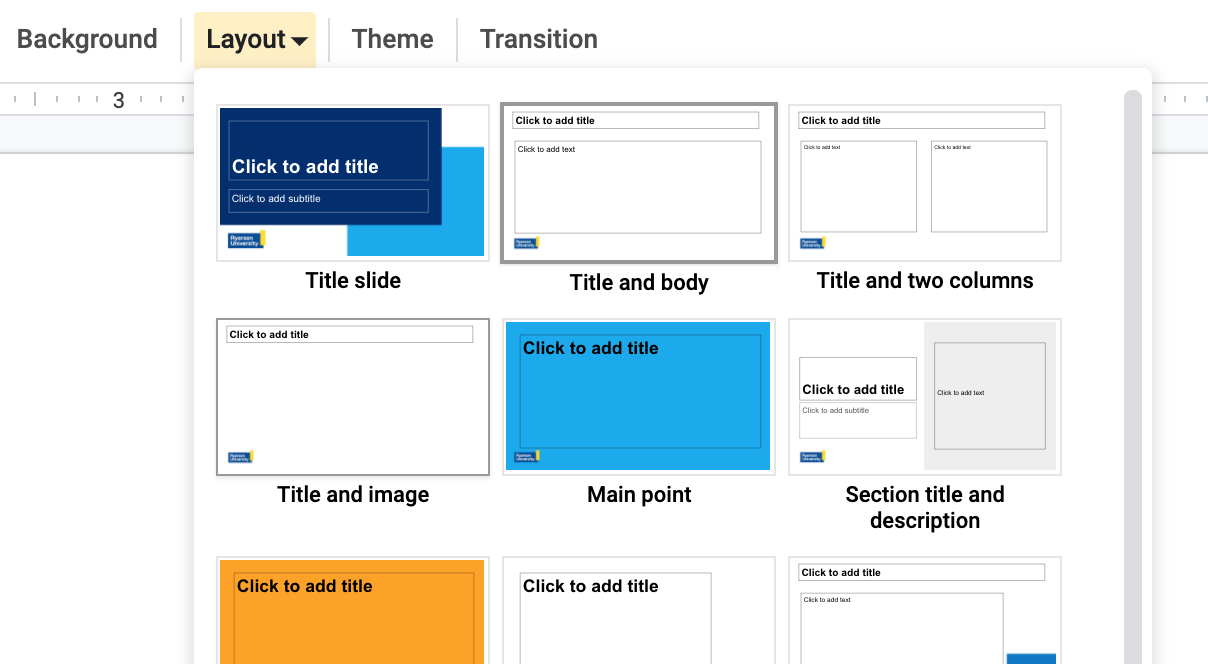
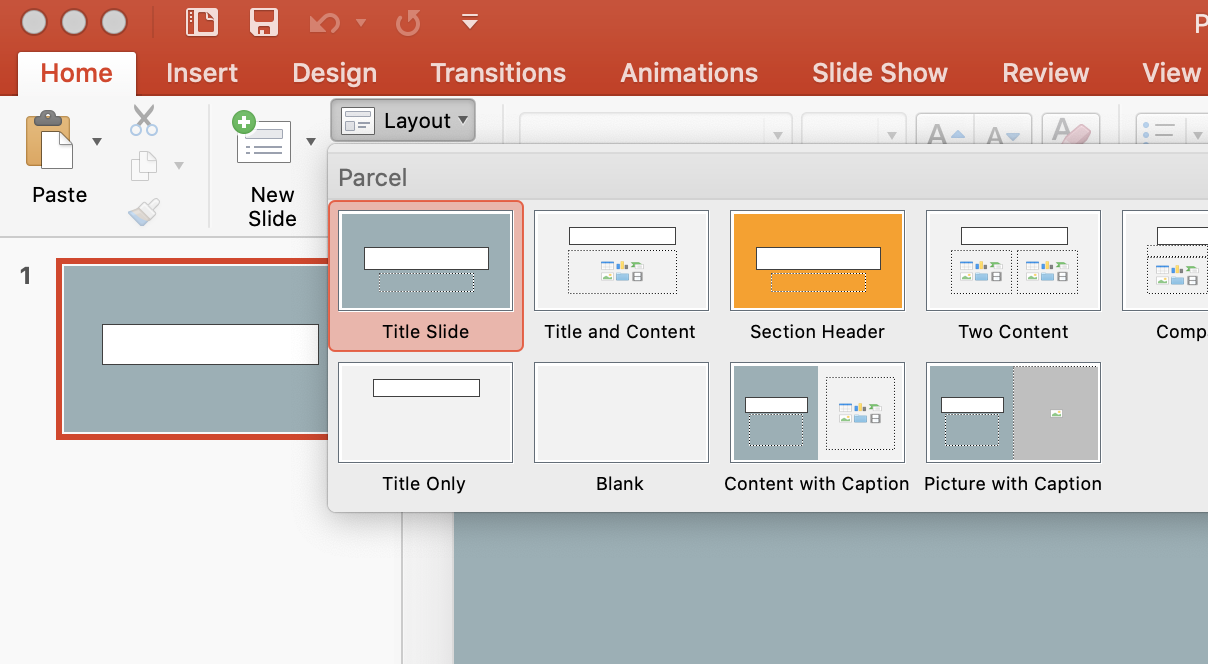
Tip! Easily edit the master slide
The master slide controls the theme, color, fonts, and positioning of all slides. Using slide layouts, you can easily switch themes or apply mass changes to the slide deck using the master slide in Google Slides (external link) or master slide in PowerPoint. (external link)
Captioning and description
Captions are meant to support people who are D/deaf or hard-of-hearing, but can benefit everyone. When including videos or audio in your presentation, try to find media with closed captions or a transcript. Avoid videos without any spoken text, as they are not accessible to people who cannot see. Learn more about captioning and description.
Present with real-time, automatic captions
- Present with automatic captions in Google Slides
- Present with automatic captions in PowerPoint (Office 365) (external link)
If presenting remotely with webconferencing tools like Zoom, you can share your screen with the real-time, automatic captions enabled. If you're presenting in Google Meet, remind people that they can enable live automatic closed captioning from the toolbar.
Speaking tips
- Speak clearly and avoid speaking too fast, so participants and sign language interpreters can better understand you and follow along.
- If there are multiple presenters, announce who is speaking each turn.
- Face the audience, or if presenting virtually, do not mute your webcam. People who are D/deaf or Hard of Hearing may be able to lip read.
- Verbally describe images on each slide, including graphs, videos with no sound, and images that spark a laugh.
- Describe any visual elements of the presentation, including cues from the audience. For example, "about half raised their hand".
- Use inclusive language. (external link) Inclusive language is language that is free from terminology, tones or phrases that reflect stereotyped or discriminatory views of particular people or groups.
Share your presentation
Consider sharing your slides or any complementary materials in advance.
- This gives your audience the opportunity to follow along or take additional notes.
- Your audience will also be less likely to miss any words or terminology when listening, allowing them to better comprehend the presentation.
- People with low vision can zoom in or adjust the slideshow to their personal viewing preferences.
- People who are blind can follow along with a Braille display or with a screen reader and earbuds.
![]()
Works cited
- Allison Ravenhall (2018). Inclusive Design For Accessible Presentations. (external link) Smashing Magazine.
- Make your PowerPoint presentations accessible to people with disabilities. (external link) Microsoft.
- How to create an accessible Google Slide deck (external link) . University of Minnesota Disability Resource Center.